kev74
20×102mm Vulcan
After putting the lower together on my NYGF AR build, I was left a little disappointed. I started with regular plain old DPMS lower parts kit trigger and hammer.
The first thing I did was to massage the hammer and trigger by hand with some stones to try and remove the worst of the rough edges. That made it better, but not good.
The trigger pull started with a long, gritty creepy pull before it seemed to build and then break. Looking at the trigger and hammer engagement surfaces, it seemed excessive - like the trigger was taking too big of a bite into the hammer hook. There was a lot of real estate on the hammer that the trigger had to pull over before it would break. I put some Sharpie on the hammer hook and pulled the trigger a few times to get a good idea of how much material had to come off. For what its worth, Sharpie ink makes a nice trigger lube. Who knew?!?
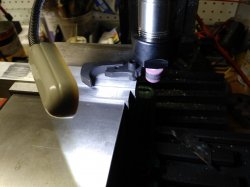
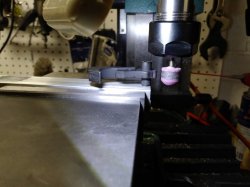
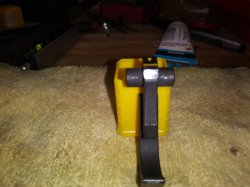
Now that I knew what had to come off, I had to figure a way to carefully get it off (that's what she said). A while back I made a jig to similarly re-contour the hammer on a Ruger 10/22. I dug it out and cleaned it up and was happy to find out the hammer pin on a 10/22 is the same as an AR. Woo-hoo! I can use the same jig!!
The jig I made is only a block of aluminum that I can clamp into my mill with a pin that is parallel to the rotation of the spindle. With the hammer on the pin, I can rotate the hammer against a stone in the mill and reduce the depth of the hook on the hammer in a careful, controlled way.
It worked!! I took about .0010 inch off the hook and it took about 2/3 of the creep out of the trigger pull. I think I can get it better, but I'm a little scared to take off too much. I want to figure out a better way to measure the engagement between the hammer and trigger. So far, I'm pleased. Sorry for the crappy pics.


