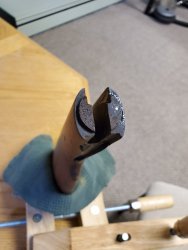
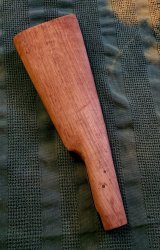
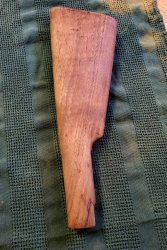
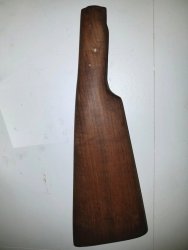
So I previously posted that I was fortunate enough to receive three (free) Pre'64 Winchesters but not without each needing some TLC. So, I quickly got started on the 1940 Model 94. The stock was cracked a good 5" between both tangs favoring one side. After some research, I went with a impact resistent cyanoacrylate glue to do initial bonding and then clamped for two days. Cleaned up some on the interior excess with an exacto knife and sand paper. Picture is before cleaning.
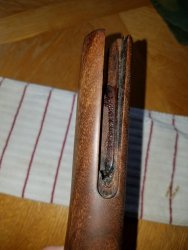
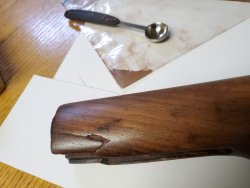
Then I chose two good staggered locations with enough meat to drill and pin for a reliable repair. Had to make the pins from some longer stock because I want them countersunk to hide the repair later on. Roughed up the brass pins with sandpaper and cleaned with Acetone to get a good bond. Cleaned out the drill holes with acetone as well and set the pins in an impact resistent epoxy.
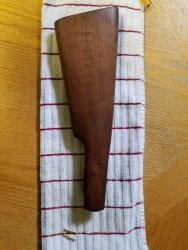
Post pin install
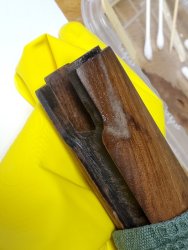
The second crack really was a removable piece that fortunately was mostly intact.
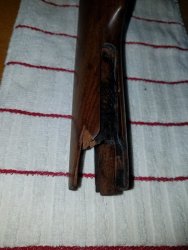
Cleaned the bond joints with Acetone and again used cyanoacrylate glue and clamped for just 1 day as I was able to get a tight initial fitting by actually being able to tap the piece in with a nylon hammer.
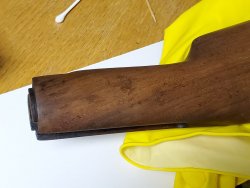
Then I drilled one hole through the piece into the stock for a steel pin. This time leaving it longer for a future flush cut off as it will be hidden by the receiver. Prepped the pin and drilled hole the same way as the others and then set it in with standard two part epoxy glue. Only pressure on that piece would be lateral that would come from careless handling not recoil imo.
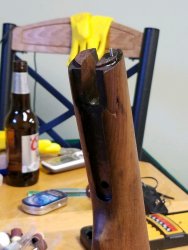
Well, there you have it. Episode One : This Old Rifle Repair
Lots more still to do....
For the record....Coors Light is NOT my beer of choice BUT I had to buy some original vintage parts for this rifle so I made a sacrifice.

Then I chose two good staggered locations with enough meat to drill and pin for a reliable repair. Had to make the pins from some longer stock because I want them countersunk to hide the repair later on. Roughed up the brass pins with sandpaper and cleaned with Acetone to get a good bond. Cleaned out the drill holes with acetone as well and set the pins in an impact resistent epoxy.

Post pin install

The second crack really was a removable piece that fortunately was mostly intact.

Cleaned the bond joints with Acetone and again used cyanoacrylate glue and clamped for just 1 day as I was able to get a tight initial fitting by actually being able to tap the piece in with a nylon hammer.
Then I drilled one hole through the piece into the stock for a steel pin. This time leaving it longer for a future flush cut off as it will be hidden by the receiver. Prepped the pin and drilled hole the same way as the others and then set it in with standard two part epoxy glue. Only pressure on that piece would be lateral that would come from careless handling not recoil imo.

Well, there you have it. Episode One : This Old Rifle Repair
Lots more still to do....
For the record....Coors Light is NOT my beer of choice BUT I had to buy some original vintage parts for this rifle so I made a sacrifice.


